.Net Core 3 : Using entity framework core to operate SQLite database in WPF
In the process of developing software, SQLite is usually chosen as the local database, because its configuration is relatively simple and no additional database services are required. SQLite can well support some basic features of relational database, such as standard SQL syntax, things, data tables and indexes, etc., and it takes less resources, and can also be easily used on mobile devices.
In addition, some features of Entity Framework (such as fluent API, migration, etc.) can make it very convenient for us to operate SQLite, and its development team is still continuing the iteration of the project, which can be the reason why we use EF core.
How to use
1. Install Entity Framework and SQLite
// Entity Framework
Install-Package Microsoft.EntityFrameworkCore.Sqlite
//Provides tools for migration
Install-Package Microsoft.EntityFrameworkCore.Tools
2. Create database context
public class User
{
    [Key, DatabaseGenerated(DatabaseGeneratedOption.Identity)]
    public int Id { set; get; }
    [MaxLength(50), Required]
    public string Name { set; get; }

    public string Age { set; get; }

    public string Sex { get; set; }
}
public class LovePlayerContext : DbContext
{
    protected override void OnConfiguring(DbContextOptionsBuilder optionsBuilder)
    {
        optionsBuilder.UseSqlite("Data Source=ZDY.LovePlayer.db");
    }

    public DbSet<User> User { set; get; }
}
3. Generate data migration files
Open the visual studio program management pack console and enter:
Add-Migration Migration_001
When run for the first time, the program will automatically generate the migrations directory and add the following three files to the project under the Migrations Directory:
- XXXXXXXXXXXXXX_Migration_001.cs--The main migrations file. Contains the operations necessary to apply the migration (in Up()) and to revert it (in Down()).
- XXXXXXXXXXXXXX_Migration_001.Designer.cs--The migrations metadata file. Contains information used by EF.
- LovePlayerContextModelSnapshot.cs--A snapshot of your current model. Used to determine what changed when adding the next migration.
Where XXXXXXXXXXXXX is the time stamp generated by execution time, and the time stamp in the file name helps to keep the files in chronological order so that you can view the progress of changes.
When the database model changes, you need to run this command again to generate a new Migration.
4. Call in WPF Project
App.xaml.cs
public App()
{
    using (var db = new LovePlayerContext())
    {
        try
        {
            using (var context = new LovePlayerContext())
            {
                //Check for new migrations
                if (context.Database.GetPendingMigrations().Any())
                {
                    Context. Database. Migrate(); / / perform migration
                }
            }
        }
        catch (NotSupportedException ex)
        {
        }
        catch (Exception ex)
        {
        }
    }
}
By calling context.Database.Migrate(), the database structure will be synchronized to the data. When the database file does not exist, it will be created automatically.
Be careful not to call EnsureCreated() before Migrate(). EnsureCreated() will bypass the migration to create a schema, which will cause Migrate() to fail.
Difference between EnsureCreated() and Migrate(): EnsureCreated() will be automatically created when the database does not exist, but if the database exists and the data structure changes, the subsequent changes will not be updated to the database.
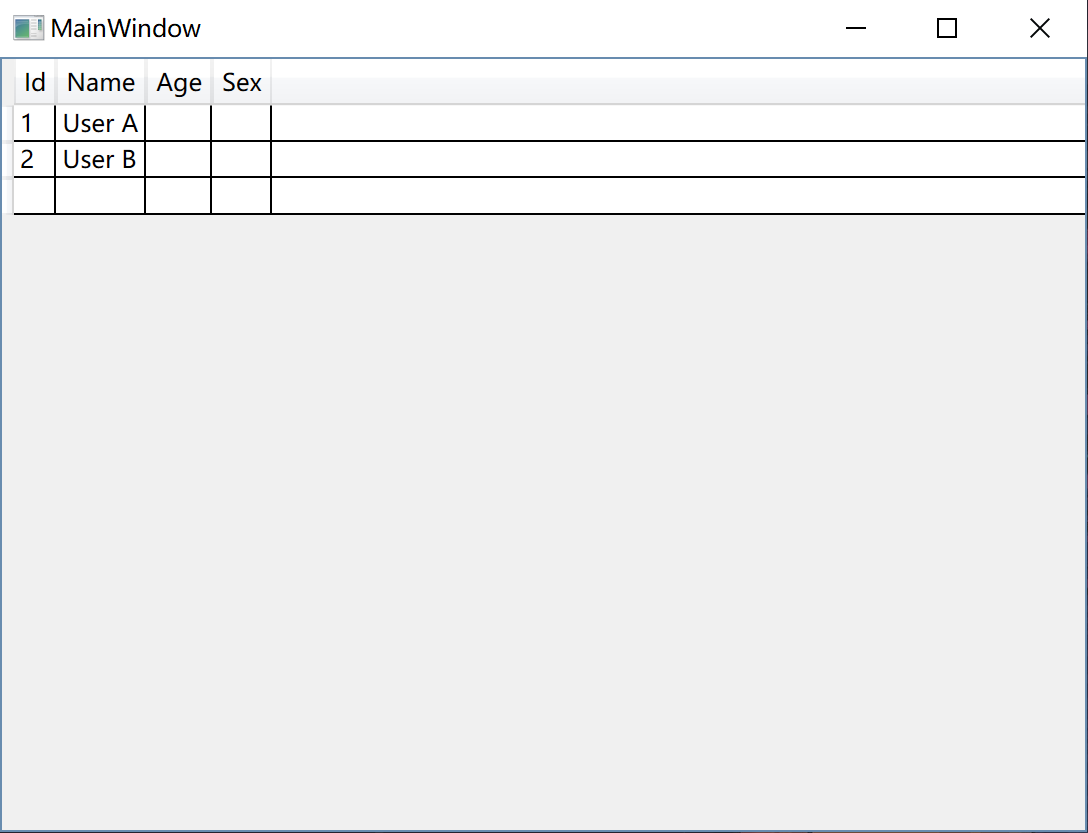
5. Test
MainWindow.xaml.cs
public partial class MainWindow : Window
{
    public MainWindow()
    {
        InitializeComponent();

        this.Loaded += MainWindow_Loaded;
    }

    private void MainWindow_Loaded(object sender, RoutedEventArgs e)
    {
        using (var context = new LovePlayerContext())
        {
            if (context.User.ToList().Count == 0)
            {
                var cate1 = new User { Name = "User A" };
                var cate2 = new User { Name = "User B" };
                context.User.AddRange(cate1, cate2);
                context.SaveChanges();
            }

            / / query
            var list = context.User.ToList();

            this.DataList.ItemsSource = list;
        }
    }
}
MainWindow.xaml
<Grid>
    <DataGrid x:Name="DataList" AutoGenerateColumns="True"></DataGrid>
</Grid>
- 本文链接: https://www.zdyla.com/en/post/using-entity-framework-core-to-operate-sqlite-database-in-net-core-3-wpf.html
- 版权声明: 本博客所有文章和照片除特别声明外,转载请联系作者获取授权,并请注明出处!