Enable NTFS write access for Mac OS
For the first time, I found that I can't operate the data inserted into the mobile hard disk, because the Mac OS only supports the reading of NTFS format disk by default, and can't move, modify, rename and delete files
Later I learned that NTFS (new technology file system) is a disk format developed by Microsoft for Windows NT kernel series operating system. Therefore, Apple cannot directly support NTFS due to copyright issues, but this does not mean that it does not support it!
In general, many people will choose to read and write hard disk by using NTFS for Mac and other tools, but these easy-to-use tools are all charged, so I have to find a free solution for the empty pocket.
In the end, I found that this problem is very easy to solve. Just follow the steps below:
1. Get the hard disk name
Link the prepared hard disk to the MAC
Open terminal
Enter the command diskutil list external, and the computer will print out the description and name of the inserted disk. Such as:
/dev/disk2 (external, physical):
   #:                       TYPE NAME                    SIZE       IDENTIFIER
   0:      GUID_partition_scheme                        *8.0 TB     disk2
   1:         Microsoft Reserved                         134.2 MB   disk2s1
   2:       Microsoft Basic Data LaCie                   8.0 TB     disk2s2
Here my disk name is Lacie
2. Edit the hard disk information to the configuration file
- Continue to input the command to open the configuration file in the terminal
sudo vim /etc/fstab
Here, a text editing tool named VIM is used to overwrite the configuration file. If the file is not found, you need to create a new one.
- After opening the file, write the configuration information
LABEL=LaCie none ntfs rw,auto,nobrowse
Among them, Lacie is the name of the disk. Please note that there should be no space in the name of the disk.

For VIM, two operation commands may be used this time:
/ / line feed
Esc + o

//Save after editing
:wq
3. Remount the hard disk
Eject the hard disk just inserted, and then insert it again. At this time, the hard disk does not appear on the desktop and in the finder's device
Next, open the finder, press the shortcut key Command + Shift + G, and enter / volumes. Enter, you can see your hard disk. Open the hard disk and you can do whatever you want.
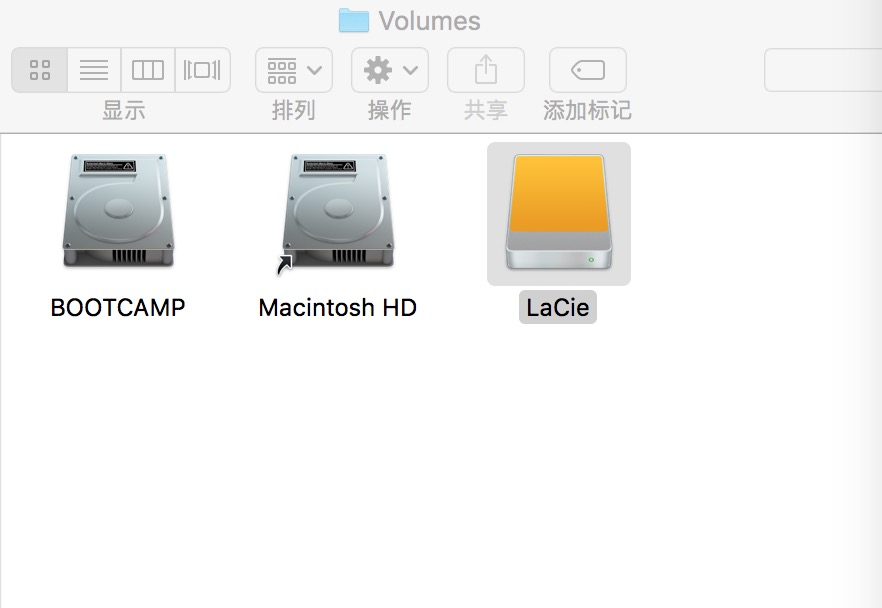
4. Create shortcut
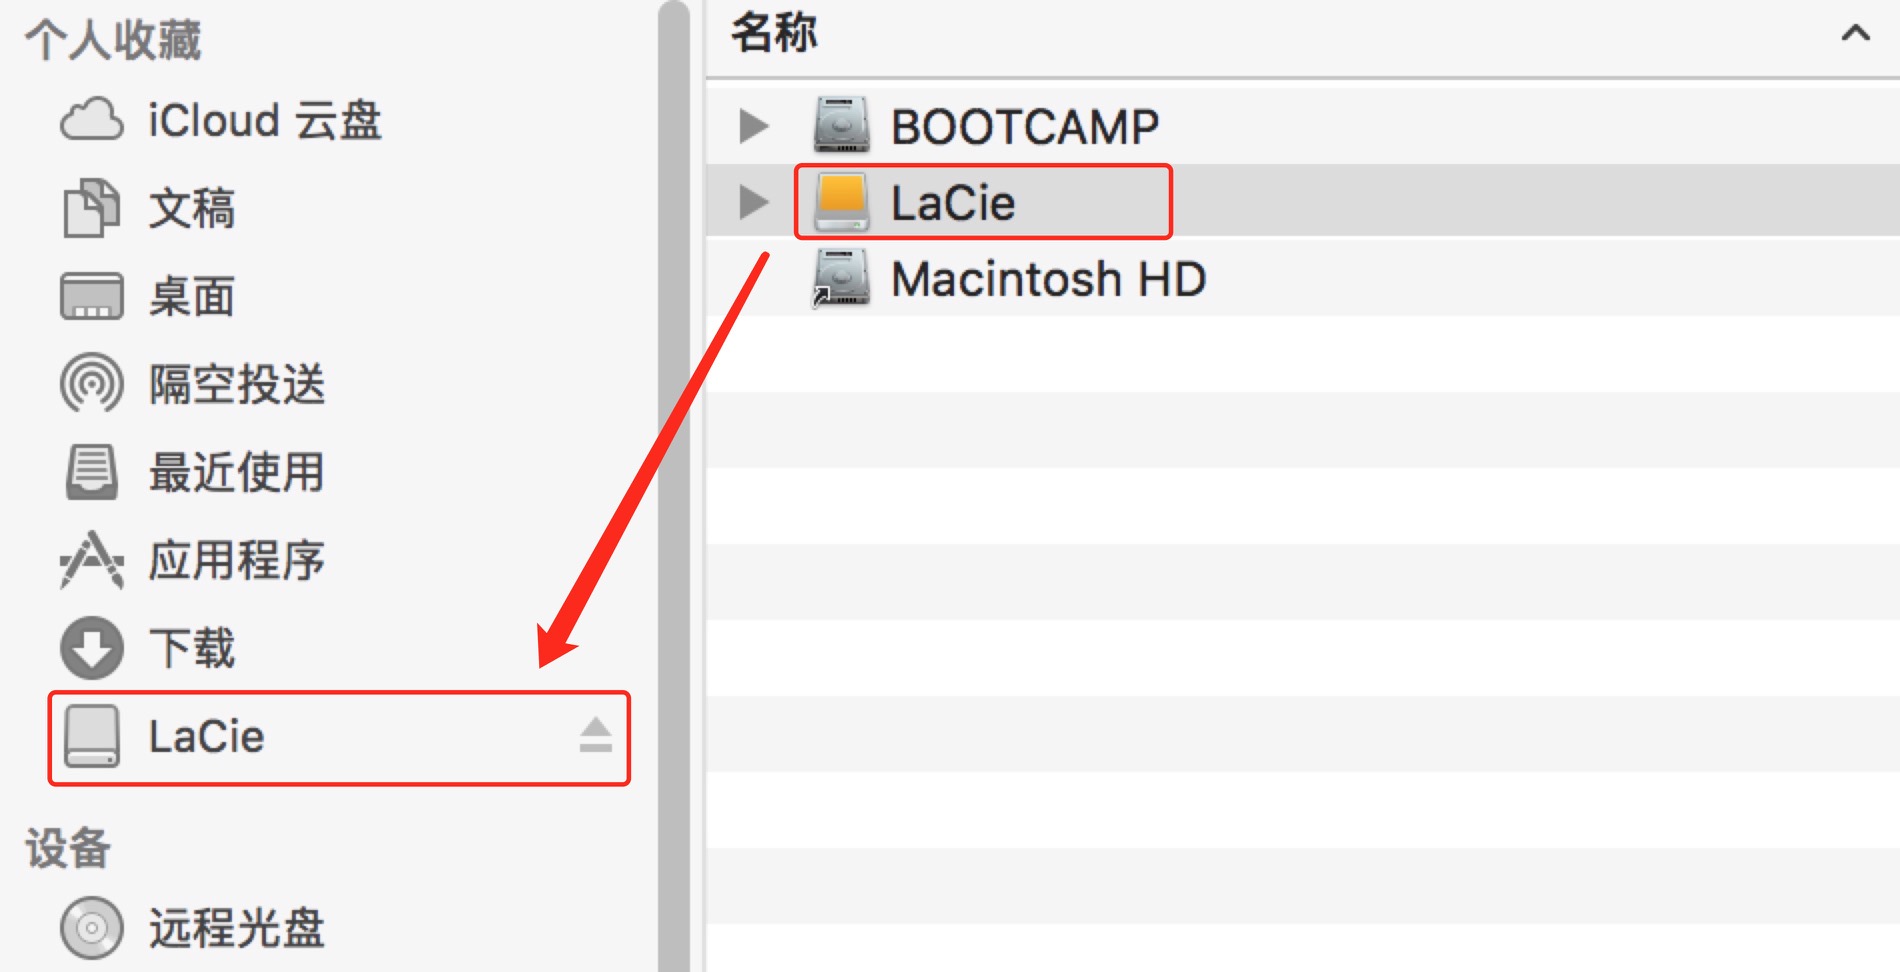
Method 1: drag your hard disk to the left menu bar, and then you can open your hard disk directly in the menu bar
Method 2: create a soft link in the / volumes folder on the desktop, and then you can find the hard disk in the volumes folder on the desktop.
sudo ln -s /Volumes ~/Desktop/Volumes
- Link : https://www.zdyla.com/en/post/enable-ntfs-write-access-for-mac-os.html
- Copyright Notice : Unless otherwise stated, please contact the author for authorization and indicate the source!